
Last week has gotten Pokémon fans all riled up, thanks to Nintendo bringing their most loved franchise to the smartphone. Yes, the little Pocket Monsters you’ve been a fan of since you were a kid can now be literally carried around in your smartphone as you roam around the world, aiming to catch ’em all. What a great time to be alive!
Unfortunately, the game isn’t out for all countries yet. But for those who have the game and wondering about how to go about it, here’s everything you need to know to get you started on your journey to be the very best (like no one ever waaaaassss), to catch them is my real test, to train them is my cauuussseeee. Sorry. Got a little carried away there.
Getting started
First things first. When you run the game for the first time, you’re asked to login to the game using your Google or Pokémon Trainer Club ID, followed by which you are greeted by a screen asking you to stay alert at all times. Past that, there is a brief introduction by Professor Willow, and a character customization screen, after which you immediately encounter the 3 starter pokémon from Gen 1: Charmander, Squirtle and Bulbasaur, all within catching distance. All you need to do is throw a pokéball at one of them and voila! You’ve got yourself your very first pokémon. For our journey, we chose to go with Charmander.


After you’ve chosen your companion, you see yourself on a map of your surrounding area, that you can traverse and carry various pokémon as you encounter them. That’s most of the game till now, roaming around and catching as many different pokémon as you can. Whenever a pokémon pops up, your phone will vibrate, letting you know there is a pokémon nearby.
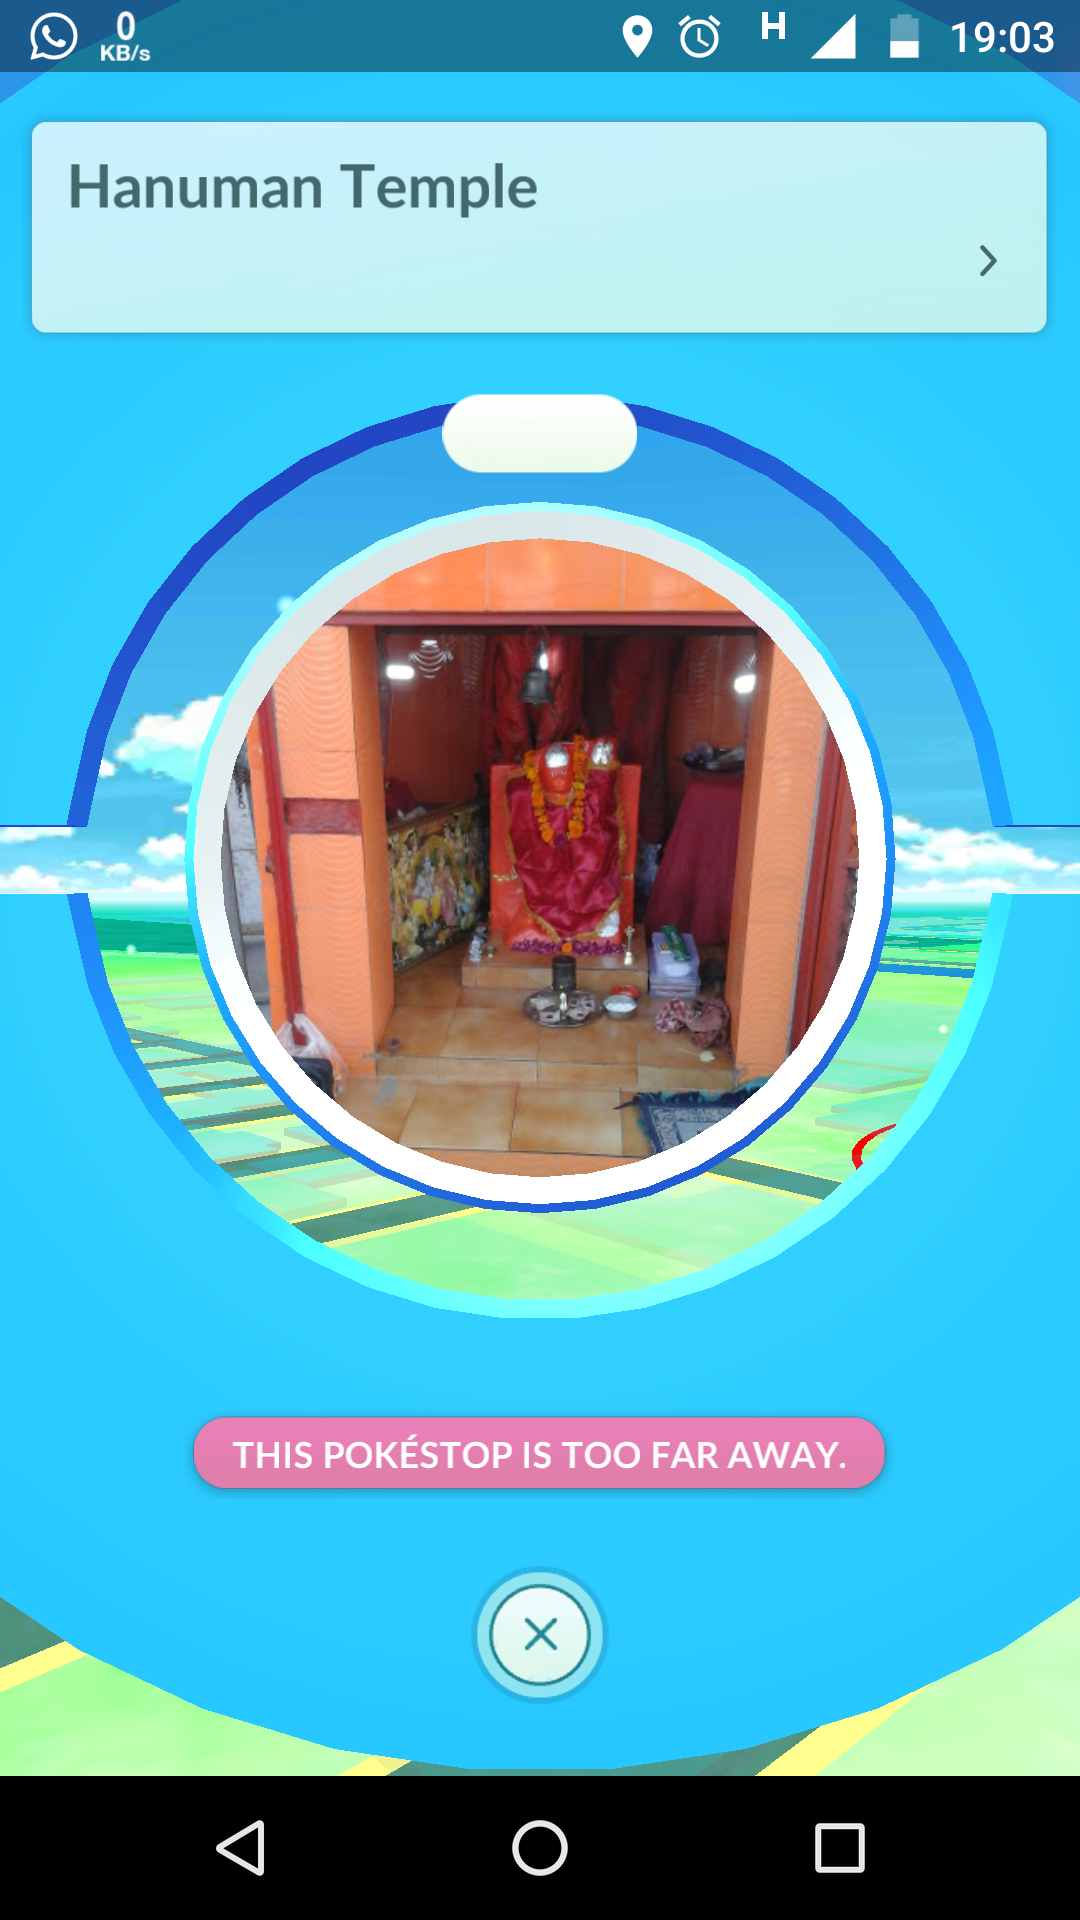
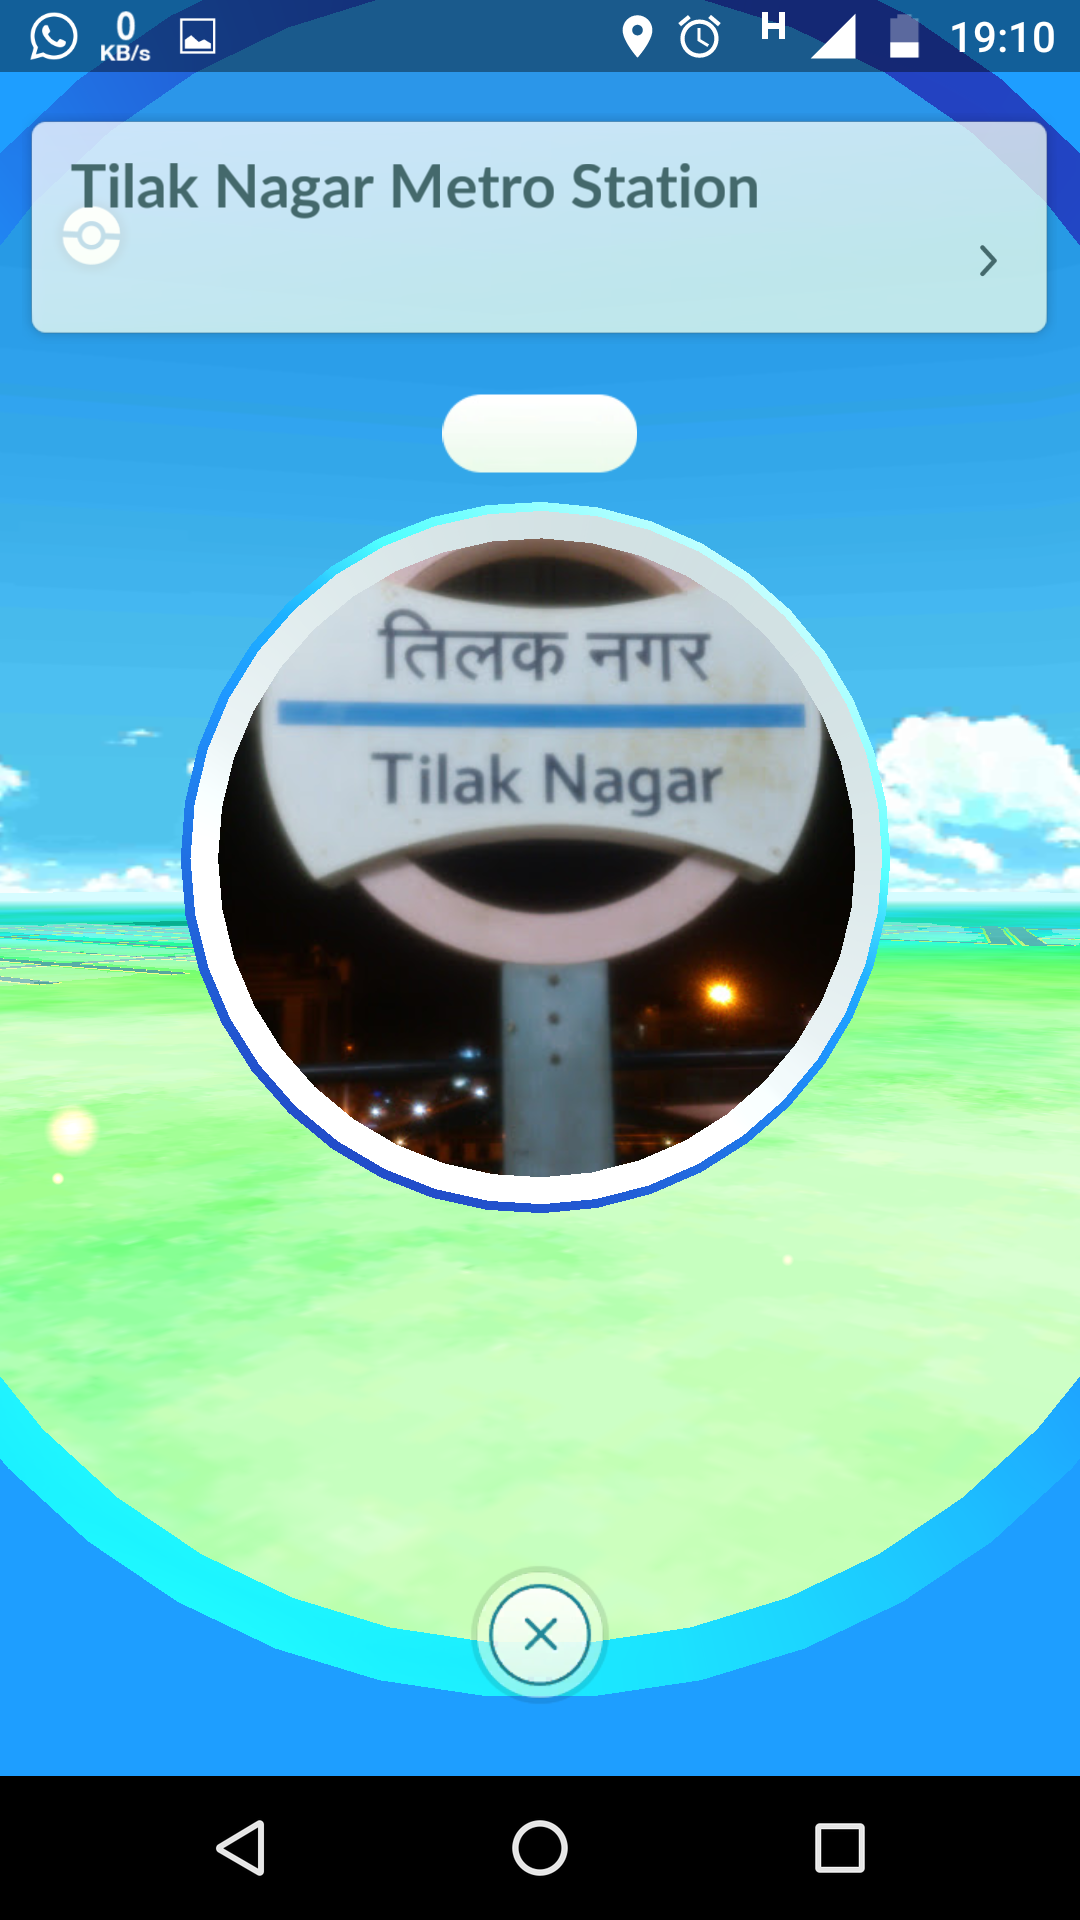
Pokéstops
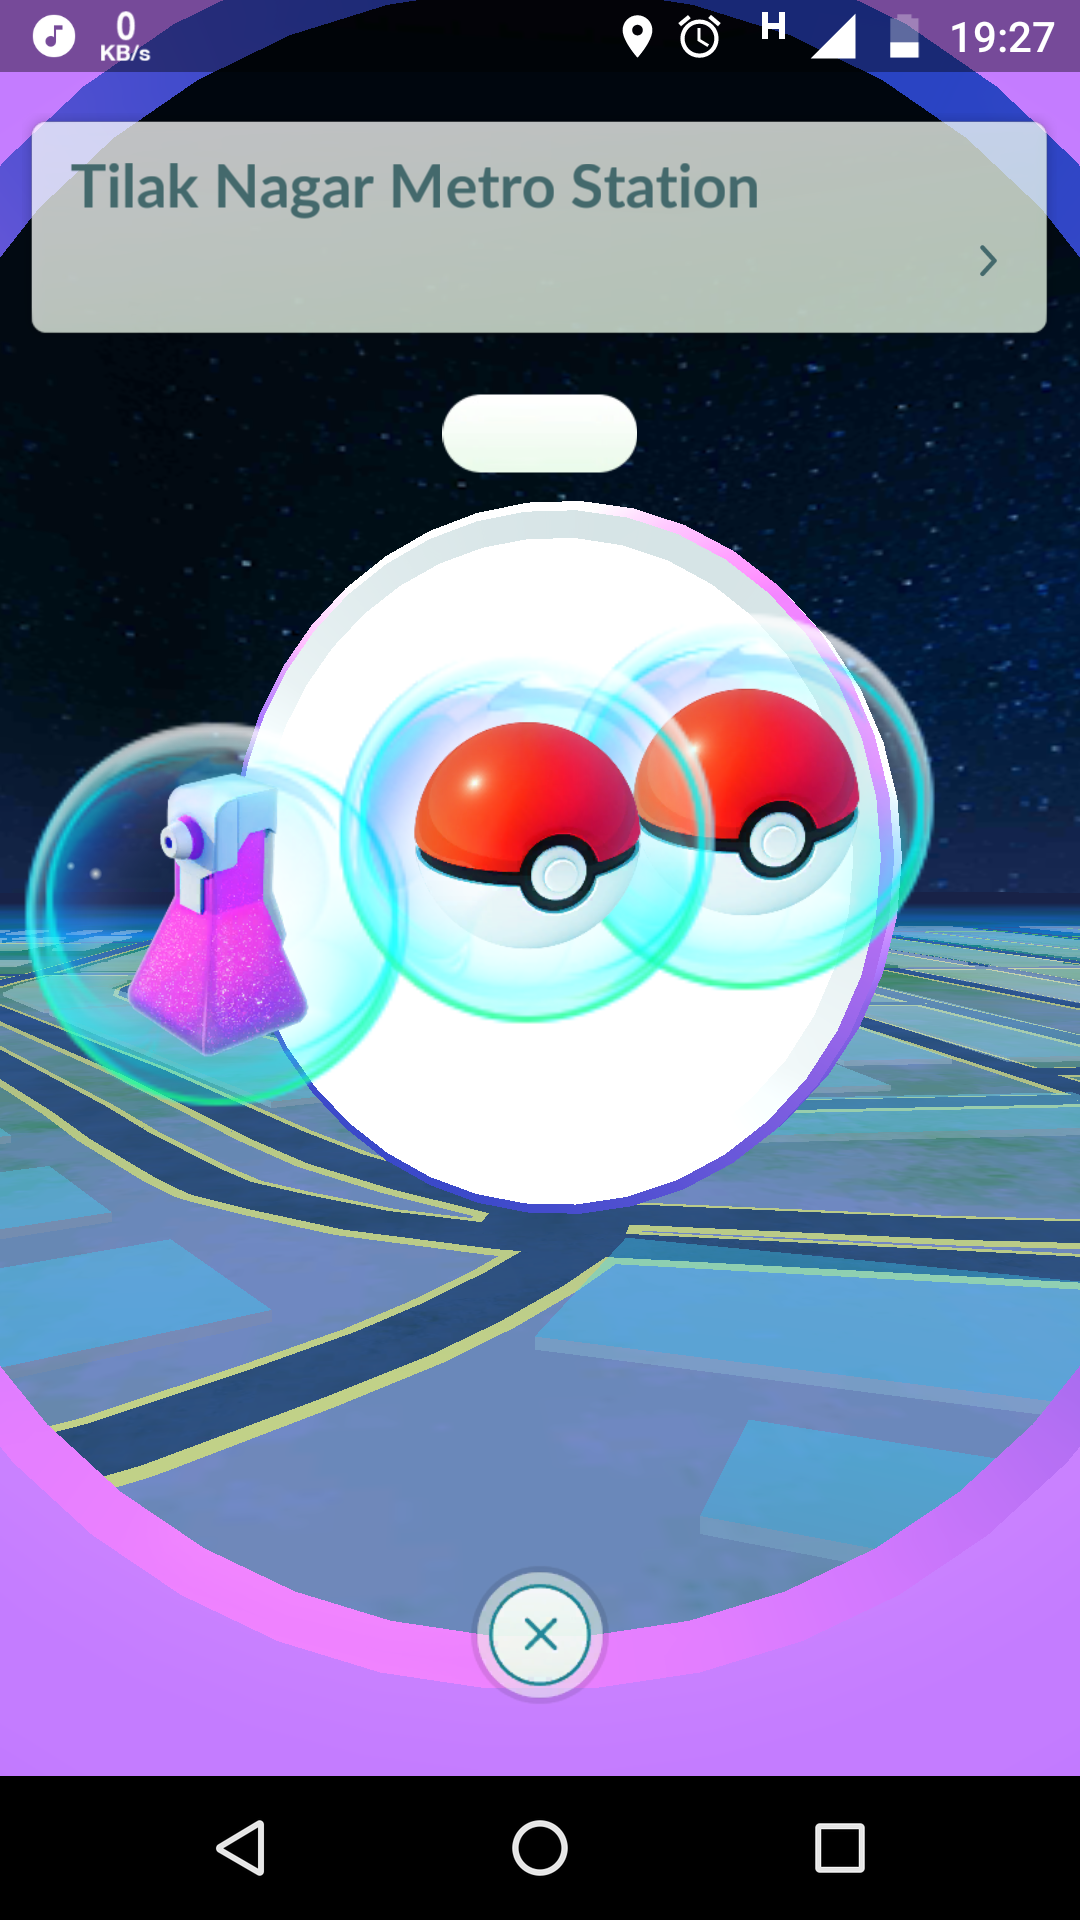
Pokéstops are places where you can get items; pokéballs, potions, revives, and sometimes pokémon eggs and berries too. They’re local stops marked on your map, and change shape when you’re close. Once you’re close enough, you can successfully interact with the pokéstop. Spin it, and you’ll see items flying, which you can collect. Oh, and you know the best part? The pokéstops refresh every five minutes, so you can visit them as many times as you like.


Catching Pokémon, Eggs and Leveling up
Catching pokémon doesn’t seem that difficult. But, here’s a neat trick to make it even easier. When you’re about to throw a pokéball at a pokémon, you will see a green circle. That little circle determines your success rate. Hit the pokémon within the circle when it’s small, and you’ve caught it for sure. Moreover, that gives you extra XP for a “great” or a “nice” throw. With time, you’ll encounter tougher pokémon that are harder to catch. For them, there circle is orange/red instead of green, which indicates that you need to weaken the pokémon before you can catch it. For that, you can use Razz berries, or Great Balls and Ultra Balls.
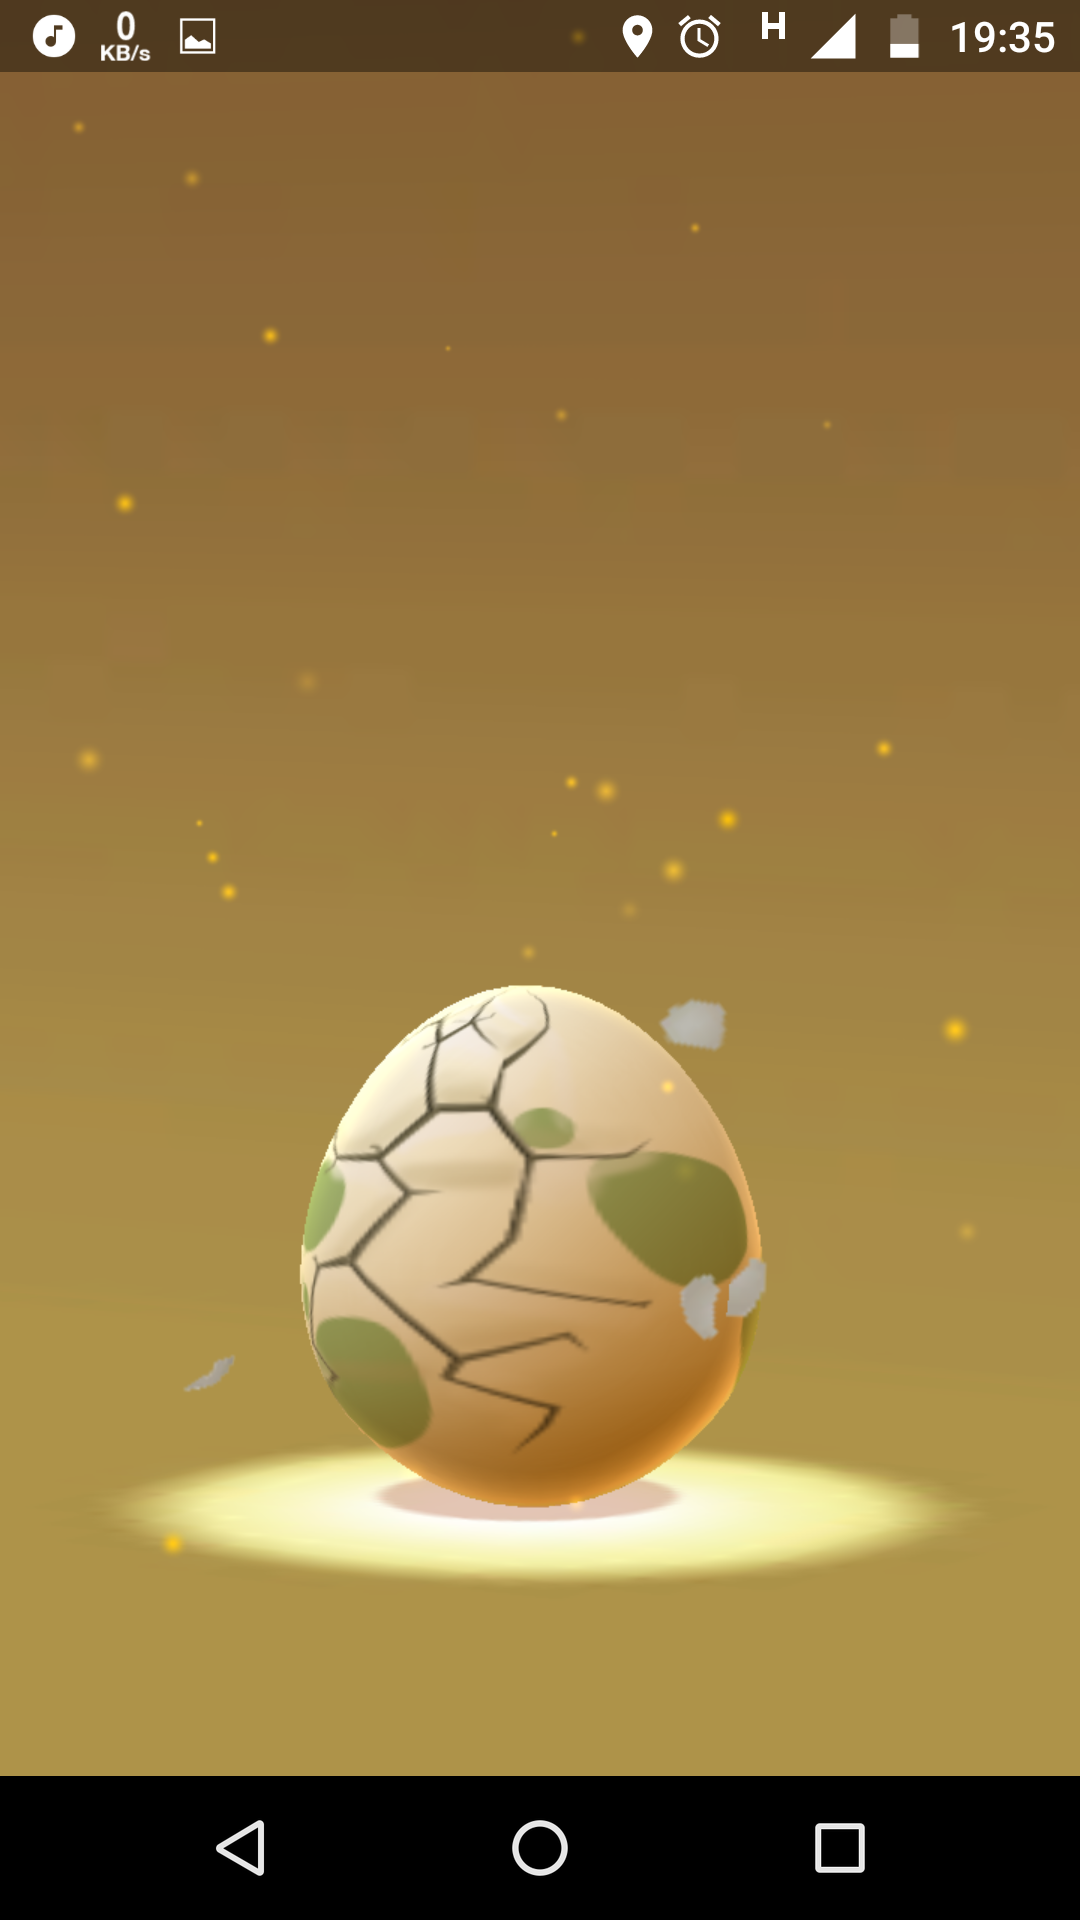
You may receive pokémon Eggs at a pokéstop. To hatch an egg, simply put it in an incubator that you already have since the start of the game and walk the necessary distance. Here is a Squirtle hatching from an egg!


You’ll see yourself gaining XP with every pokémon you catch or every pokéstop you visit. You get 500 bonus XP for catching a pokémon you do not already possess, and 50 for every pokéstop visit. Each time you level up, you get pokéballs as a reward. Once you reach level 5, you can join a faction and battle in Gyms. And after level 12, you start getting Great Balls as the level and difficulty of pokémon you encounter depends on your player level.
Powering Up and Evolving
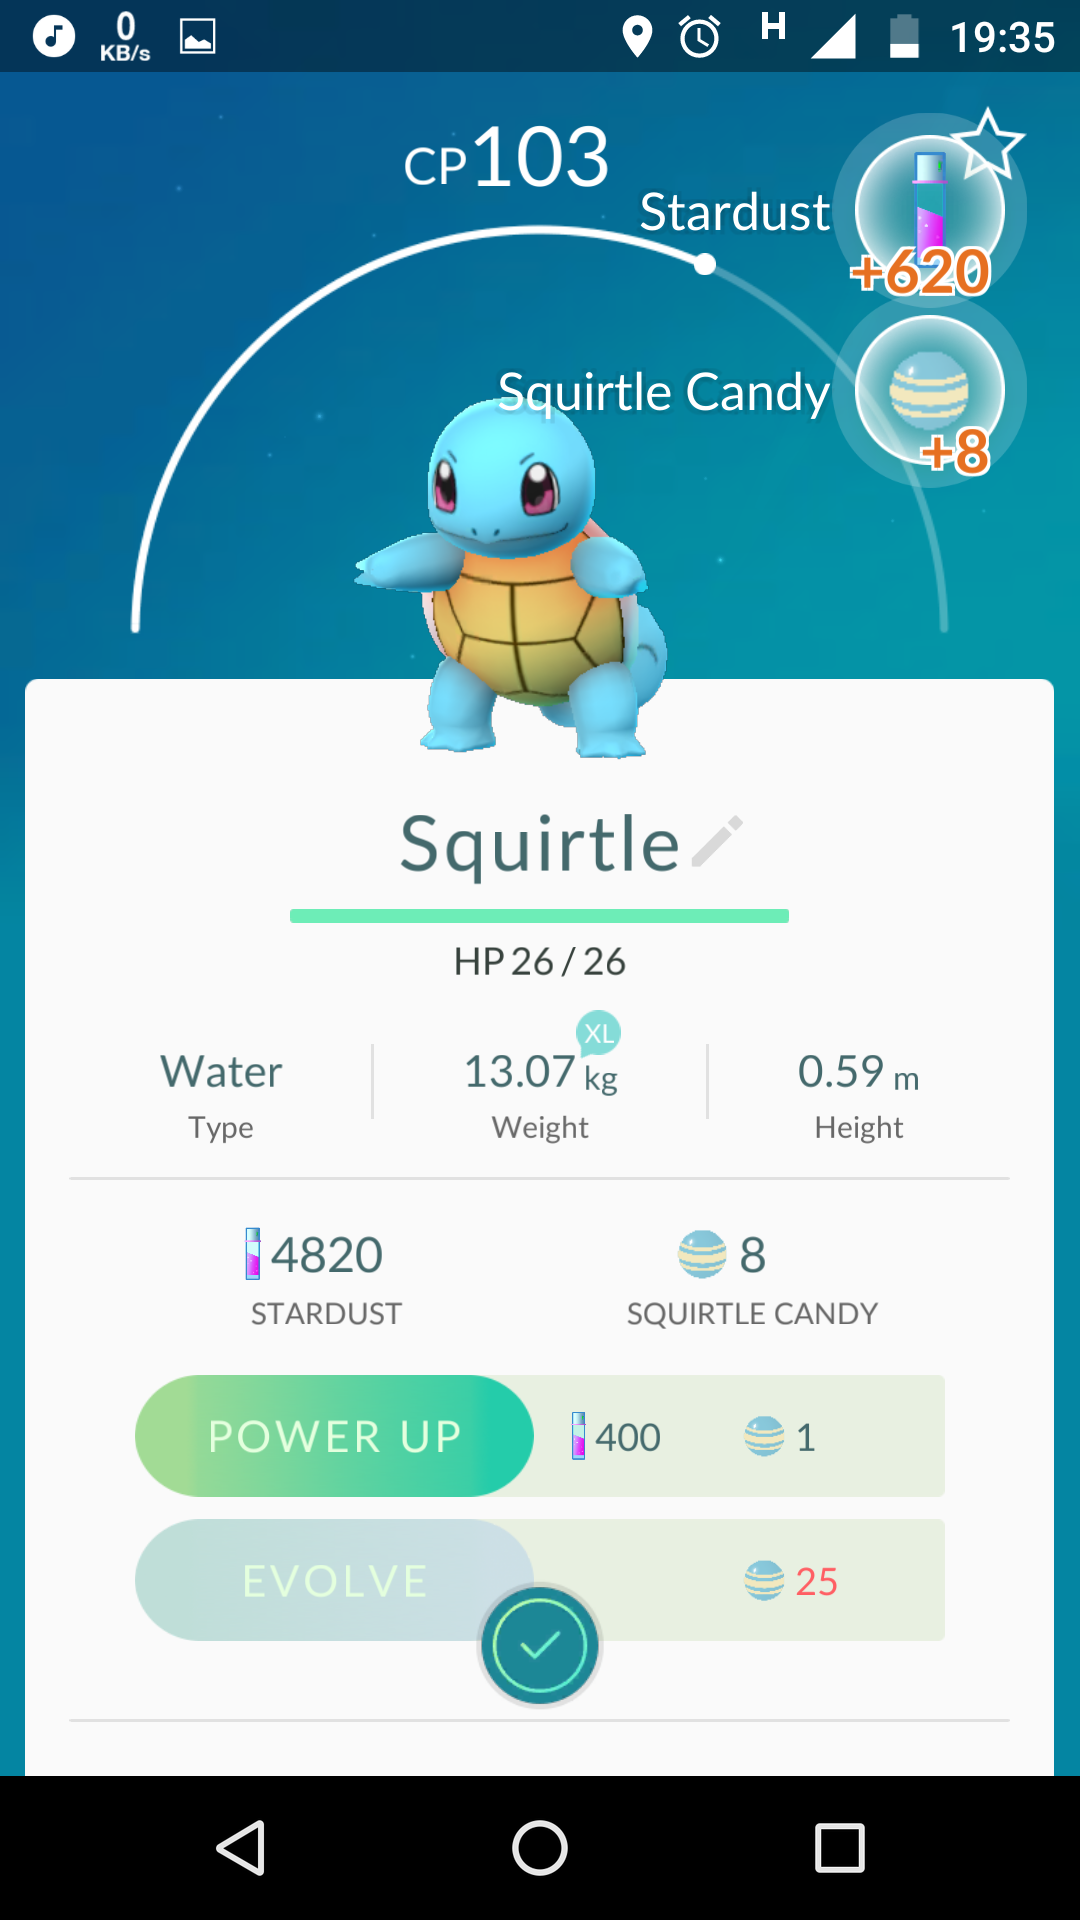
You can encounter pokémon of different Combat Power (CP) levels, which determines how powerful the pokémon is. To make a pokémon more powerful, you need two resources: stardust, a generic item you obtain with each pokémon you catch, and the pokémon’s specific candy, which can be obtained by catching duplicates of the pokémon. To evolve a pokémon, you need to use more of that pokémon candies. Evolving a pokémon increases its CP drastically.
Pokémon Gyms and Battling
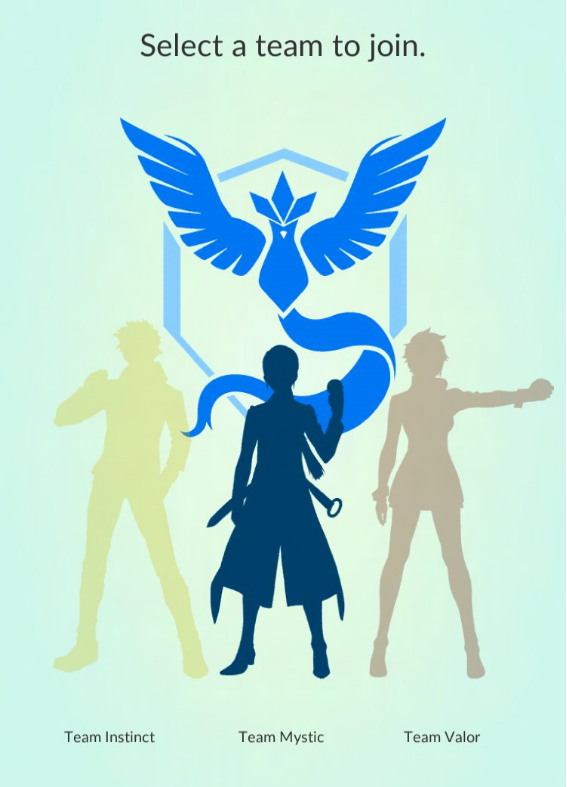
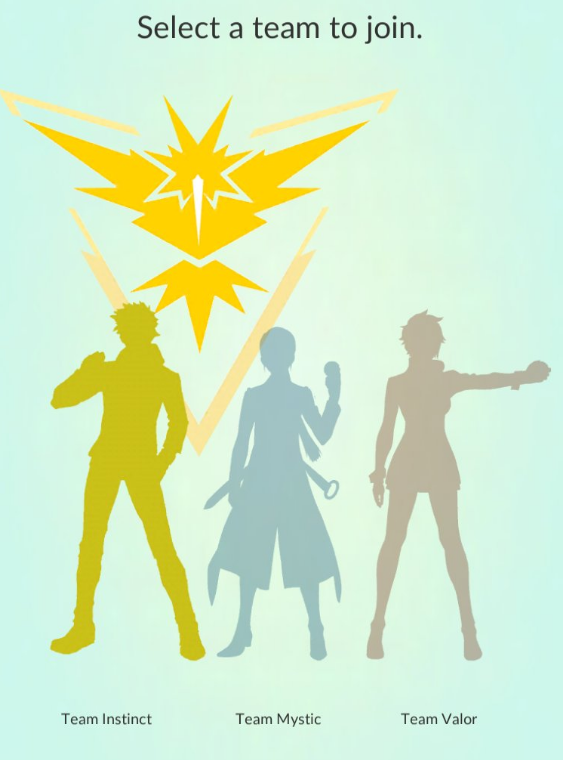
Sadly, the main aim of Pokémon Go right now is to catch as many pokémon as you can, so there isn’t battling among friends as of yet. But that doesn’t mean you can’t get the taste of pokémon battles at all. Once you reach level 5 and join a faction, you become eligible for Gym battles. Presently, there are three factions: the blue Team Mystic, the yellow Team Instinct and the red Team Valor, represented by the legendary pokémon Articuno, Zapdos and Moltres respectively.

Once you choose a team, you can visit gyms and train or battle the pokémon there. If the gym is owned by a fellow faction member, you can train your pokémon there and increase the prestige of that gym. If it is owned by some other team, you can battle their pokémon and weaken their prestige. Prestige determines how difficult a Gym will be to beat. You can place your pokémon at a Gym and train them. Based on how many Gyms you have your pokémon at, you get pokécoins, the in-game currency which you can use to buy items like pokéballs, incense, lure modules etc.

Battling is pretty simple. You face off your opponent in a one-to-one match, where you can tap the opposing pokémon for a low power attack or press and hold, which results in your second, stronger attack once the meter fills up. You can also dodge incoming attacks by swiping left or right. Standard rules and type advantages apply, and battle continues till one pokémon faints. Defeating your enemy grants your pokémon XP and makes them stronger. However, as the game does not have any Pokémon Centers, you have to rely on Potions and Revives for all your needs.
Different items and how to obtain them
- Pokéballs – Pokéballs the basic tool for catching pokémon. Great balls unlock at level 12 and are better at capturing pokémon, while ultra balls, which unlock at level 20 are even more useful for high-level pokémon. All three can be obtained at pokéstops once you’ve reached the right level, and regular pokéballs can be bought with pokécoins from the Store.
- Potions – Potions are used to heal pokémon in between battles. Again, they can be found at pokéstops.
- Revives – Allow for revival of pokémon that have fainted in battle. Like pokéballs and Potions, they can be obtained from pokéstops.
- Lucky Egg – Doubles the experience you gain in the next half-hour after use. Can be obtained at pokéstops or bought using pokécoins from the store.
- Razz Berries – Starting level 8, Razz berries can be used on higher level pokémon to help prevent them from running away. They can be found at pokéstops.
- Egg Incubator — Egg incubators are used to hatch eggs, which can contain rare pokémon. You posses one incubator since the start of the game, while more can be found at pokéstops. However, the latter have limited uses.
- Lure Module — Can be applied to a pokéstop, increases the chances of encountering wild pokémon at that pokéstop for all nearby users. Can be found at pokéstops or bought using pokécoins form the store.
- Incense — Increases the likelihood of luring wild pokémon for the user for the next half-hour after use. Can be found at pokéstops or bought at the store with pokécoins.
That’s everything you need to know to get you started on your journey to become a Pokémon Master. What are you waiting for? GO and catch ’em all!
For more news and reviews, keep checking back at Gaming Central.
Pingback: Having Trouble Downloading Pokemon GO? This Will Help! | Gaming Central